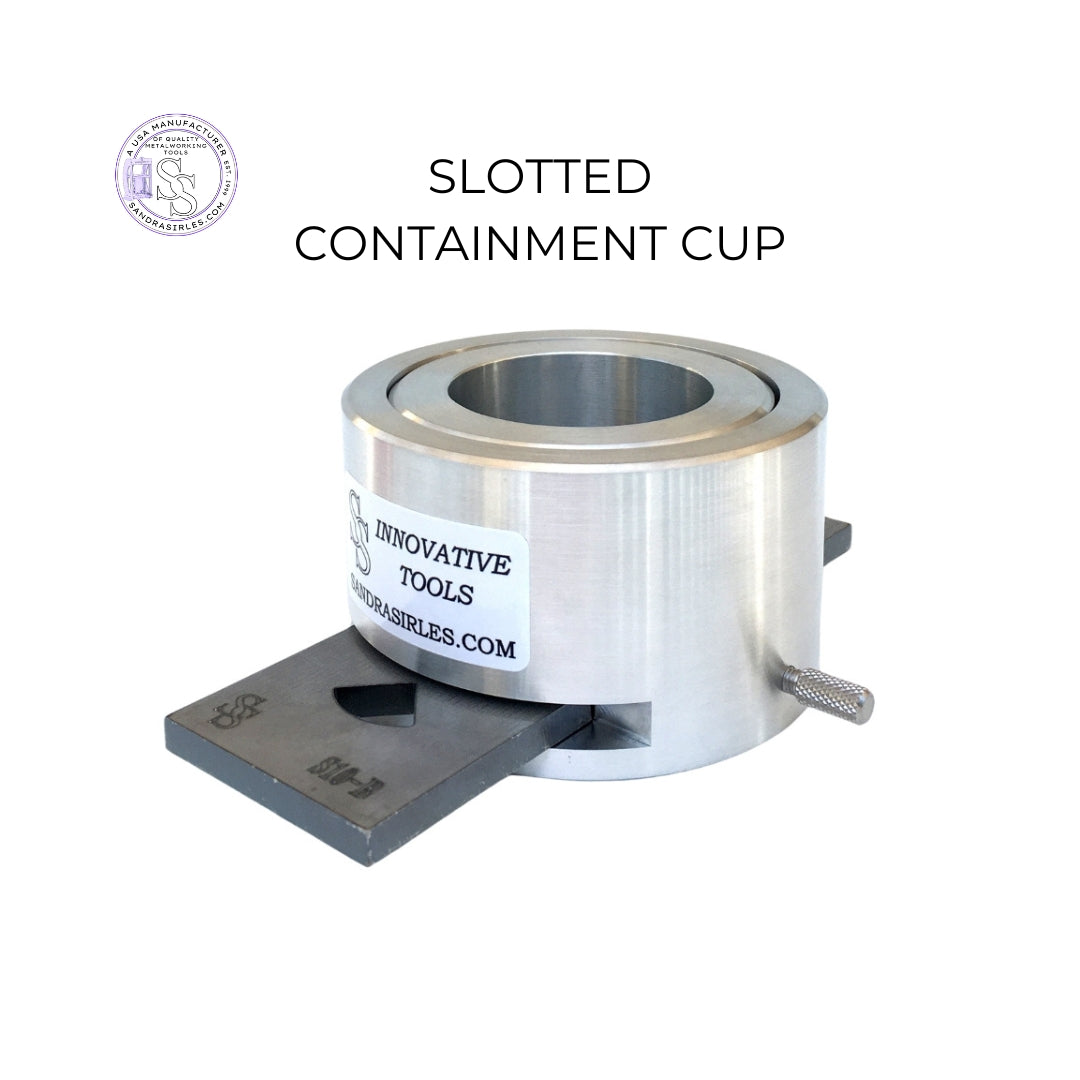


7 PIECE DELUXE CONTAINMENT CUP SET
Couldn't load pickup availability
DESCRIPTION
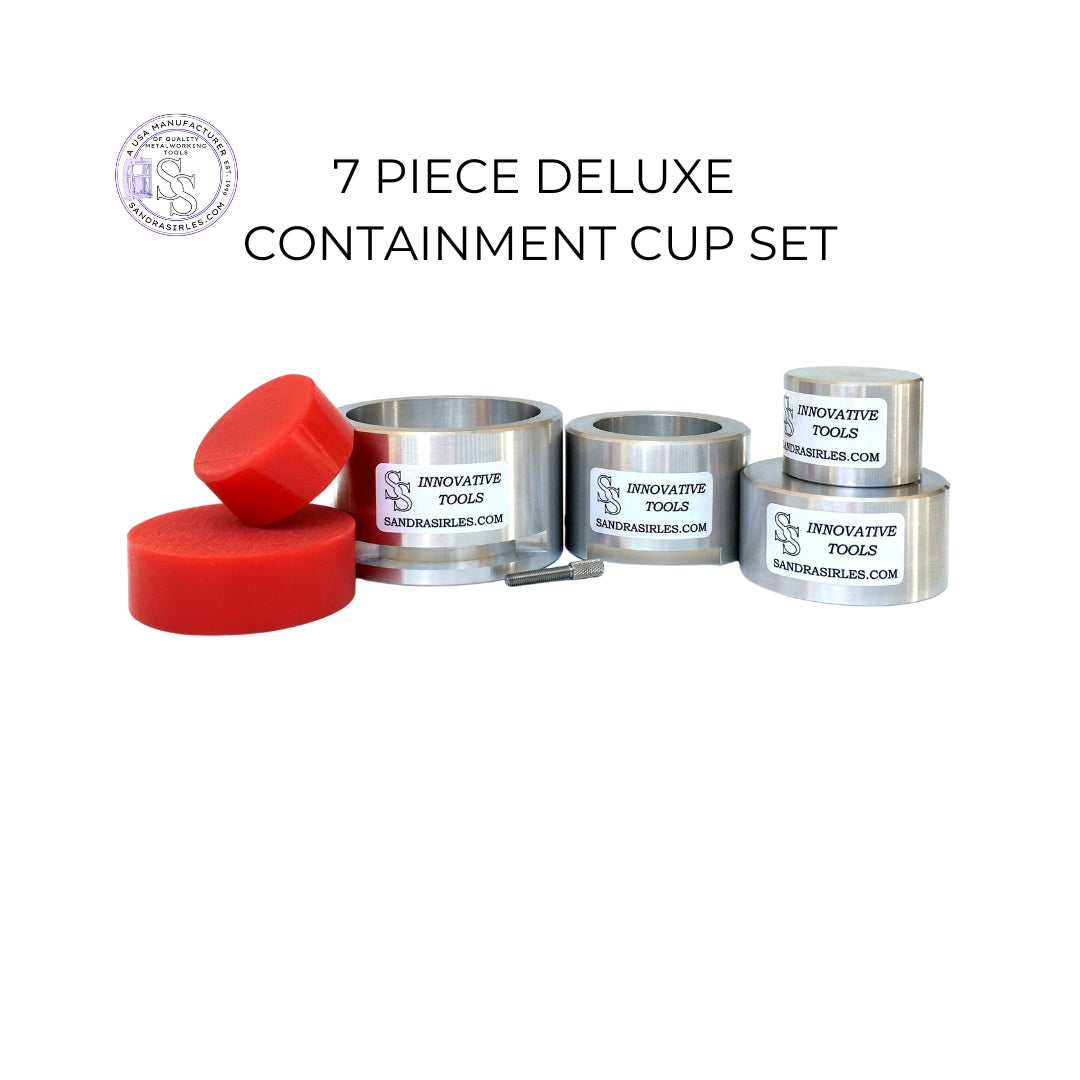
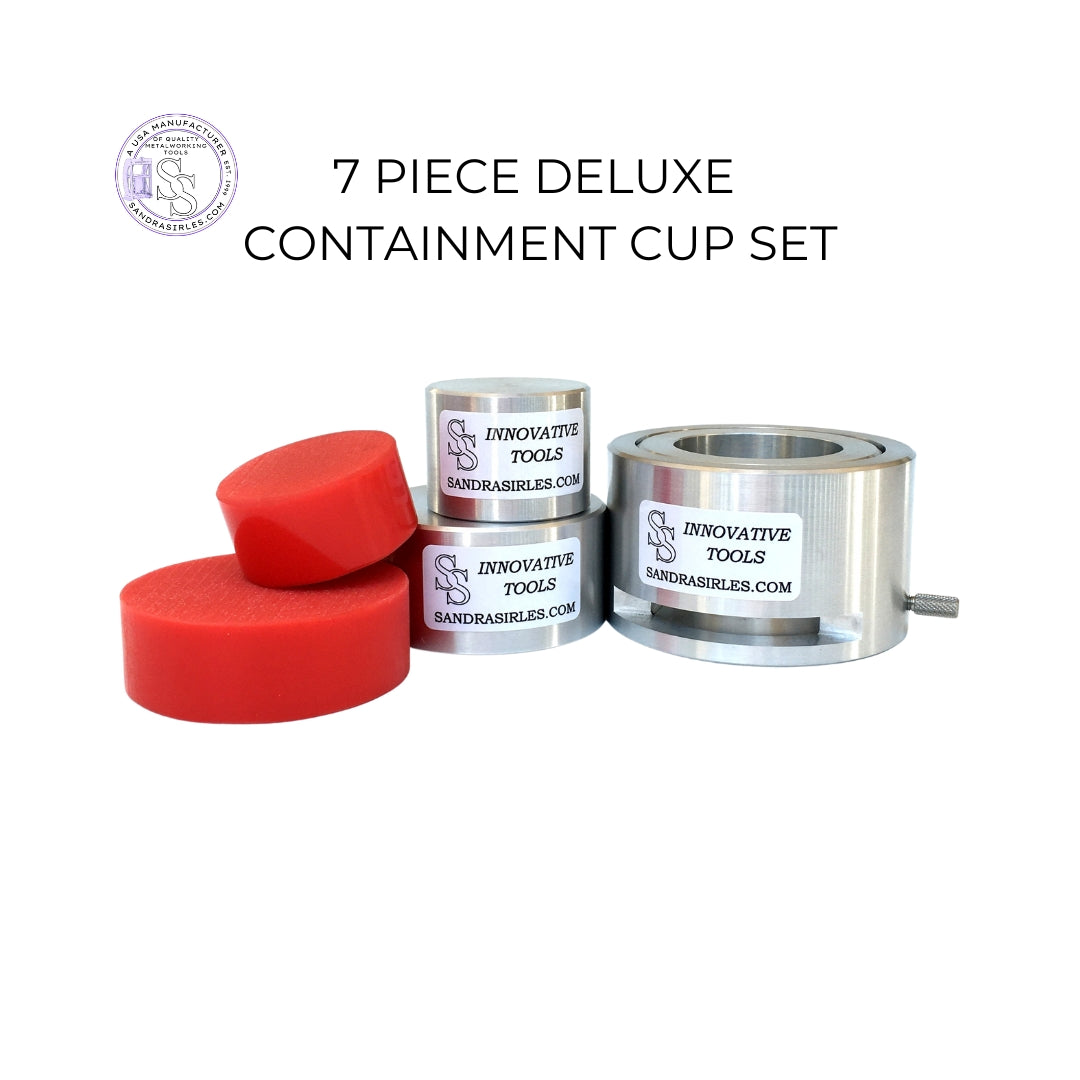
7 PIECE DELUXE CONTAINMENT CUP SET
SILHOUETTE DIE FORMING
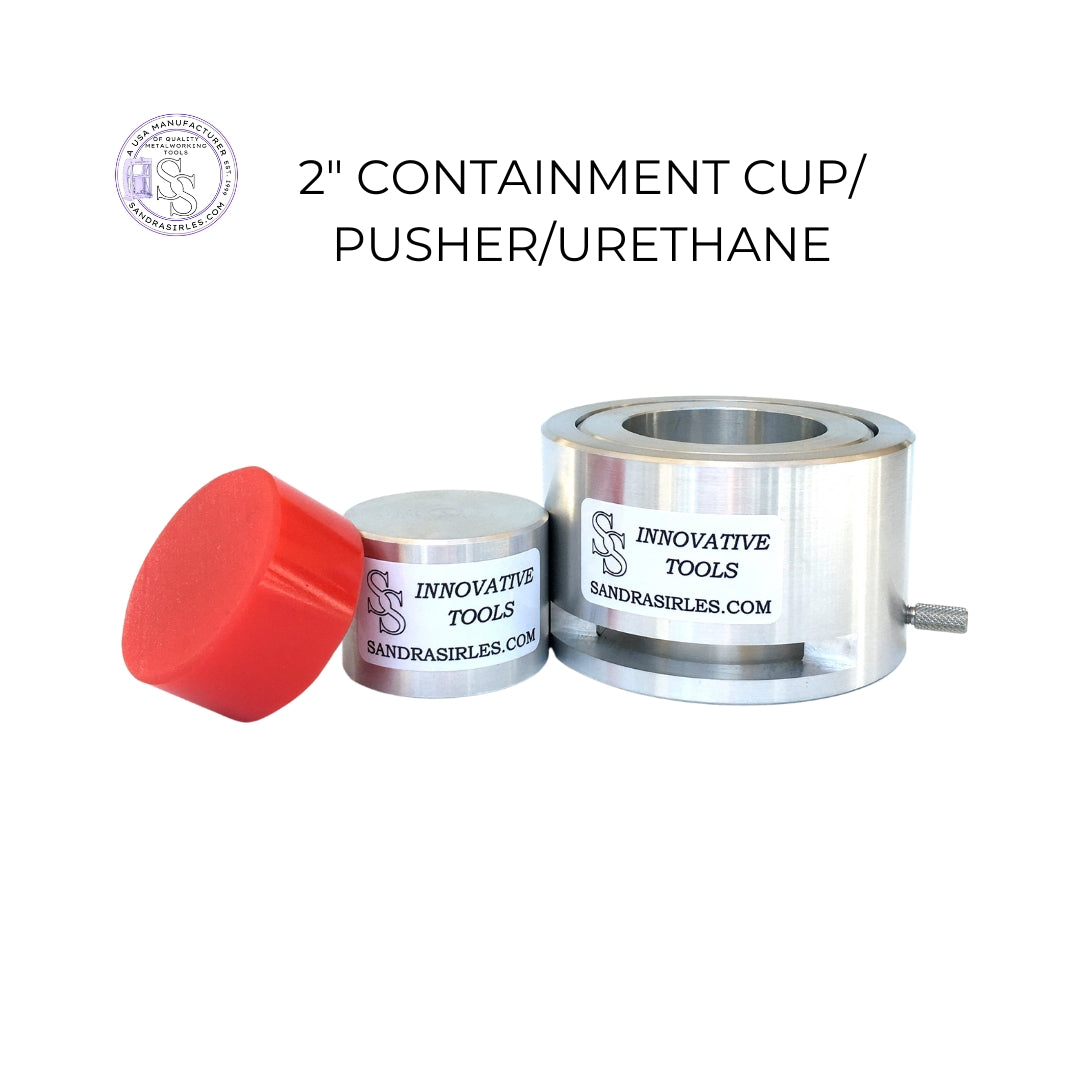
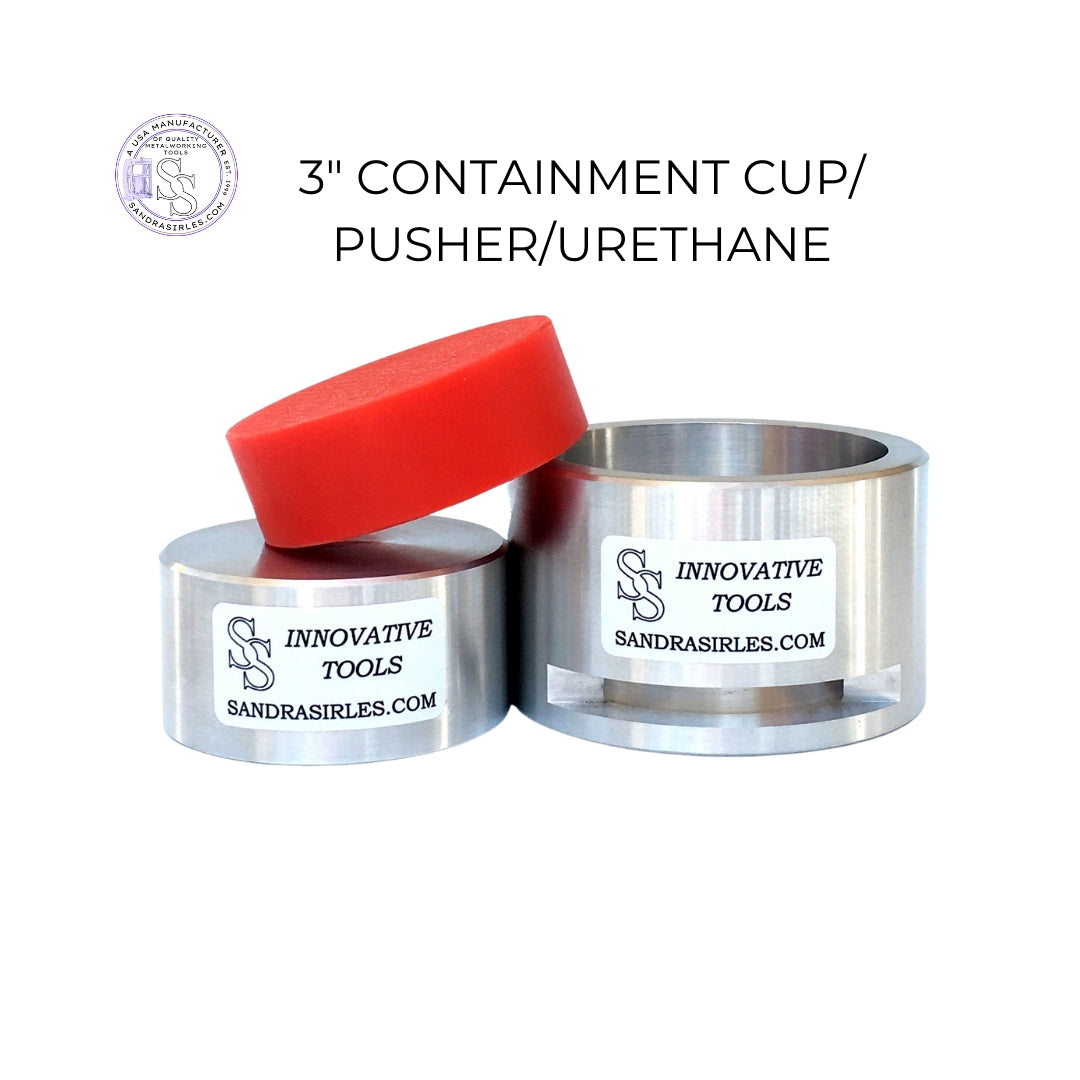
Silhouette die forming is a technique where a sheet of metal is forced through an opening in a rigid solid surface. If the metal blank is larger than the die opening a domed shape will be formed in the metal leaving a flat flange of surrounding metal. Usually the force is applied with a hydraulic press and a piece of urethane (a rubber-like material) which then forces the metal through the opening of the die. The sandrasirles.com 7 Piece Deluxe Containment Cup Set has the advantage of using a contained system making the process much more efficient and requiring less pressure to form the metal. Contained systems also allow the use of softer urethane which form metal blanks more deeply than hard urethane. The sandrasirles.com 7 Piece Deluxe Containment Cup Set consists of A. 3-3/4” (OD) 3” (ID) metal containment cup, A. 3” (OD) 2” (ID) metal containment cup both have openings in the sides to slide the die bars into place for forming and a thumbscrew to immobilize the bar. The containment cups have an 1” opening in the bottom to aid in pushing any formed metal back out of the die should it stick. Two urethane pushers included are: A. 3” Dia. x 1” thick 95 durometer Colors can very and A. 2” Dia. x 1” thick 95 durometer Colors can very. Two metal pushers, 3” Dia. x 1-1/2” thick and 2” Dia. x 1-1/2” thick are also included to push the urethane into the dies.
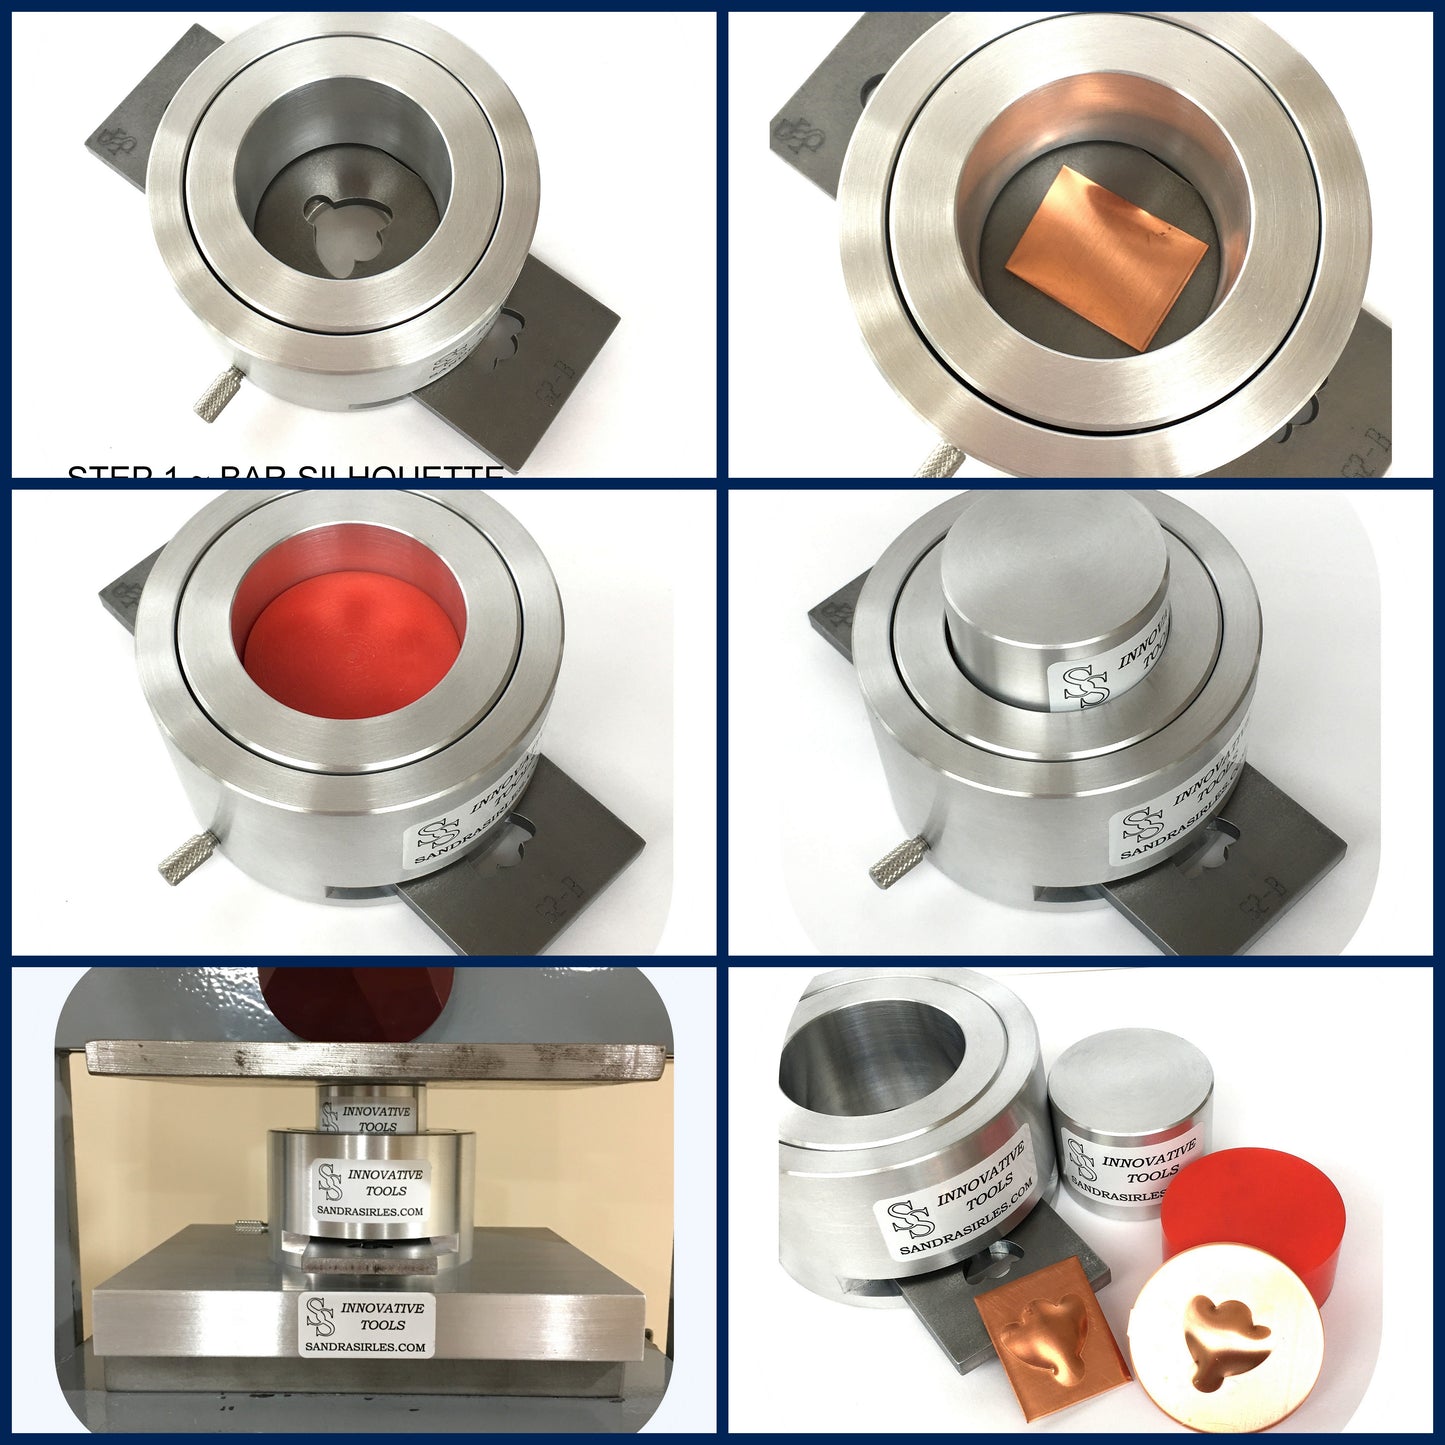
PROCEDURE
1. The metal to be formed should fit within the 3” or 2” containment cups. Our Pancake dies PDS513A Shape 13 Round 3" and or PDS512D Shape 12 Round 2" will work beautifully to cut out the metal blanks.
2. Choose the die to be used 3”, 2” or die bar. When using the 2” containment cup turn cup so the openings are closed so your 2” die will not slide out. When using the die bar slide into the open slots at the sides of the forming 3” and 2” cups so the desired die bar opening is centered in the cup. Tighten the thumb screw to immobilize the die bar. The die bar should be positioned in the cup so the side with the bar number and logo are facing up.
3. Place the circle blank of metal in the cup followed by the urethane to do the forming. Position the metal pusher in the cup on top of the urethane.
4. Put the assembled Containment Cup into the hydraulic press with the cup centered on the bottom platen.
5. Raise the lower press platen to do the forming you may be surprised how little pressure is needed to do the forming. Be conservative and check the amount of forming at intervals of pressure. Take notes on the pressure needed (or number of strokes on the jack handle for presses without pressure gauges).
SOME POINTS TO CONSIDER.
1. Softer urethanes (like the 75, 60 durometer) will move metal more easily and deeply into a die opening than a harder urethane (like the 95, 80 durometer). However, the hard urethane will apply more force to the flange of the metal making it less likely that the flange will also be drawn into the die. 2. The smaller the dimensions of the die opening the greater the pressure required to form the metal.
3. The dies are 1/4” thick so don’t try to form metal much deeper than the plates or your metal form could hit against the bottom of the die cup. Since a die form will be domed the center of the dome will be the deepest spot (the apex of the dome). The bottom of the forming cup has a 1” diameter opening so you really can form a dome a little deeper than the 1/4” thick die but no area of the formed dome outside that 1“circle can be deeper than 1/4” or the metal dome will hit the sharp edge of the bottom hole in the forming cup. This can increase the depth of forming somewhat but must be done carefully and in pressure increments with depth inspection.
4. Remember that small pieces of urethane placed can be used to form resistant shapes like the smallest dies. Small pieces of urethane placed can also be used to focus pressure on specific areas of the die opening such as resistant corners or narrow areas. Heavy rubber sheeting or even slices of plastic erasers can be cut to size and shape and used.
5. The dies are made so the edges are very defined (almost sharp). This will give a very crisp edge to reasonable thick sheet metals which are usually used for silhouette die forming using flat sheet to give strength to the form. If you are working with rather thin metals the crisp edges may tear your metal with deep forming. If this is your case you can remove a very small amount of metal from the edges of your dies with a very light treatment with 320 grit paper. This will allow the use of thinner metals but still give a crisp edge to thicker metals.
6. A metal blank that is large may waste metal by leaving an excessively large flange that you will remove later. A blank that is too small can result in the metal edge being drawn into the die. Remember that the flow of metal will be different in different areas of the die depending on its shape. Little flow will occur in narrow areas or sharp corners and more flow will be seen in wide areas with gentle curves. A hard urethane will retard the metal flow by holding the flange in place with more pressure than a softer urethane. The larger the size of the starting flange size the more firmly the urethane will be held in place.
7. Finally, you can increase the amount of metal flow into the die by using a liquid lubricant such as “Crazy Larry’s Secret Lube” or similar (Cutting Oil) on the metal blank. (1oz bottles found on website) This decreases the frictional resistance between metal and urethane. The variables are complex and interactive so it is best analyzed with experimentation.
8. Sandrasirles.com makes many Silhouette die shapes with graduated sizes of the same shape on each 3”, 2” or bars. These are convenient for making larger and smaller die forms of the same shape. Many Silhouette Die shapes match our Pancake Die shapes.
Please allow up to 3 weeks for fabrication.